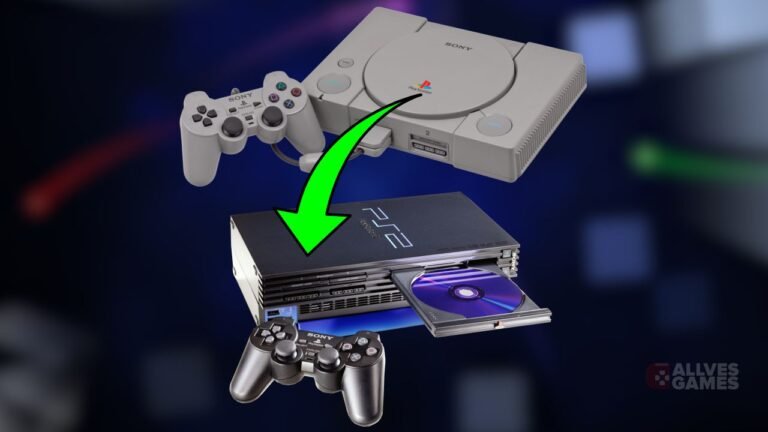
If you want to play your favorite PlayStation 2 games on your PC, then the updated PCSX2 emulator is the ideal solution for you. In this complete guide, we will show you how to
download, configure, and run PS2 games on your PC with PCSX2. The process is simpler than it seems, and by following this tutorial, you will be ready to relive PS2 classics on your computer in a few minutes.
https://youtu.be/3jxNaLjnGeo
1. How to download PCSX2
The first step to start using PCSX2 is to download the emulator. To do this, follow the steps below:
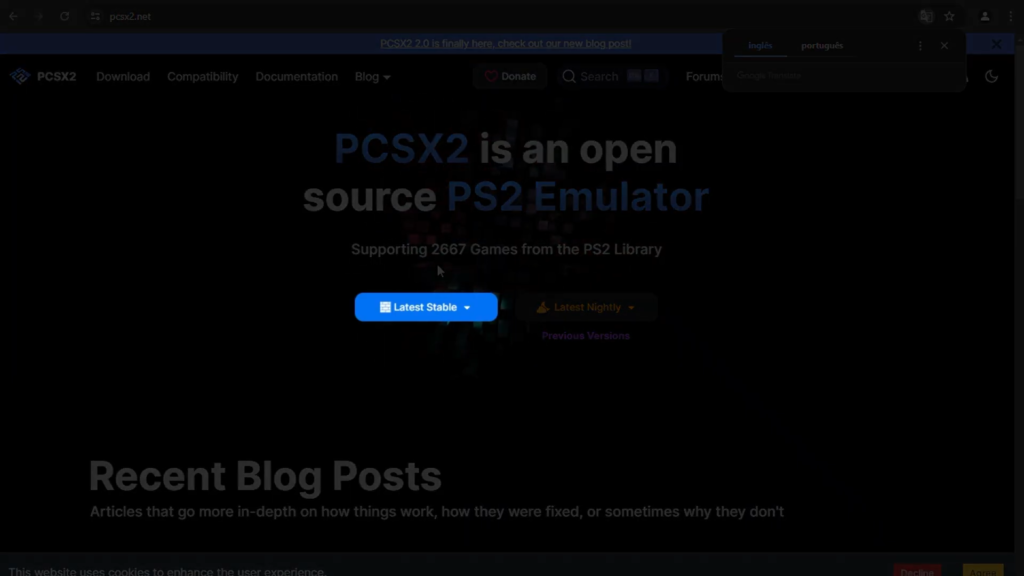
- Open your web browser and go to the official PCSX2 website: pcsx2.net.
- Click on the "Latest Stable" option to download the latest stable version of the emulator.
- Next, click "Download" to start downloading the file.
After downloading, extract the PCSX2 folder to an easily accessible location on your PC.

2. Initial PCSX2 configuration
With PCSX2 installed, let's now do the initial configurations:
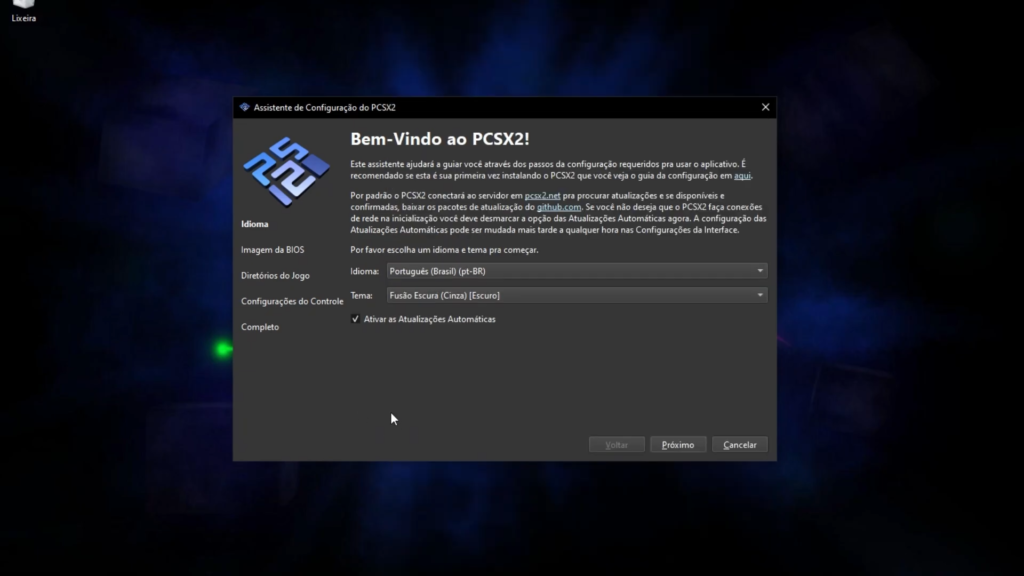
- Inside the PCSX2 folder, open the file named "pcsx2-qt.exe".
- On the first screen, you can choose the emulator's language. Select "Portuguese (Brazil)" to make navigation easier.
- Also choose the graphical theme you prefer. For this example, we will keep the "Dark Fusion" theme.
- Click "Next".
3. Importing the PlayStation 2 BIOS
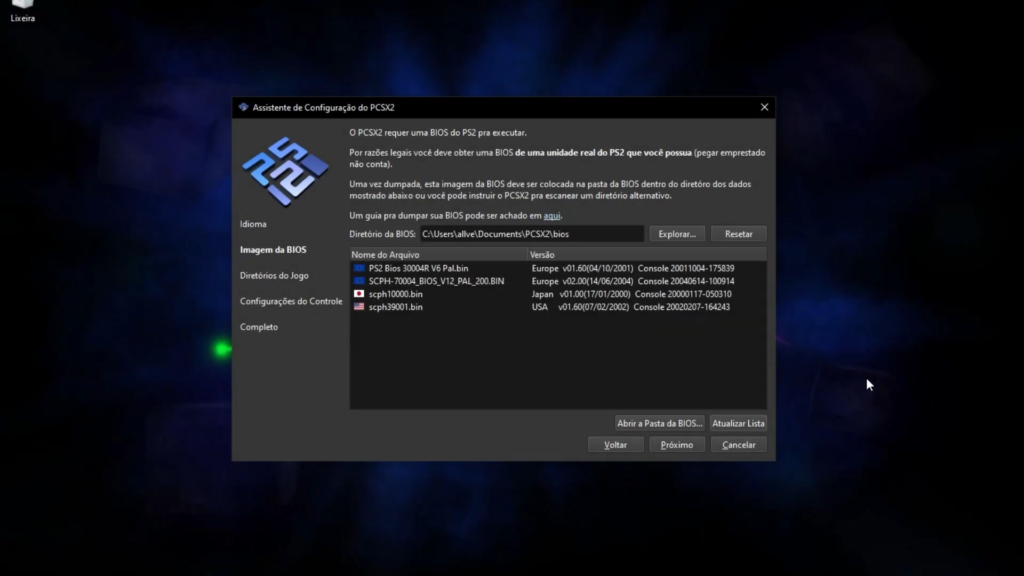
To run PCSX2, you need the PS2 BIOS files. For legal reasons, the emulator recommends that you dump the BIOS directly from your PlayStation 2. However, it is possible to find these files on the internet with a simple Google search.
It is ideal to have BIOSes from different regions, such as American, Japanese, and European, to ensure that games run correctly. To import the BIOS:
- Copy the BIOS files to the "PCSX2" folder that was automatically created in your Documents.
- Inside the "PCSX2" folder, locate the "bios" folder and paste the files there.
- Return to the emulator and click "Refresh List". Now you will see the available BIOS.
- Choose the BIOS for the region of your choice (in this example, we will select the American one) and click "Next".
4. Adding games to PCSX2
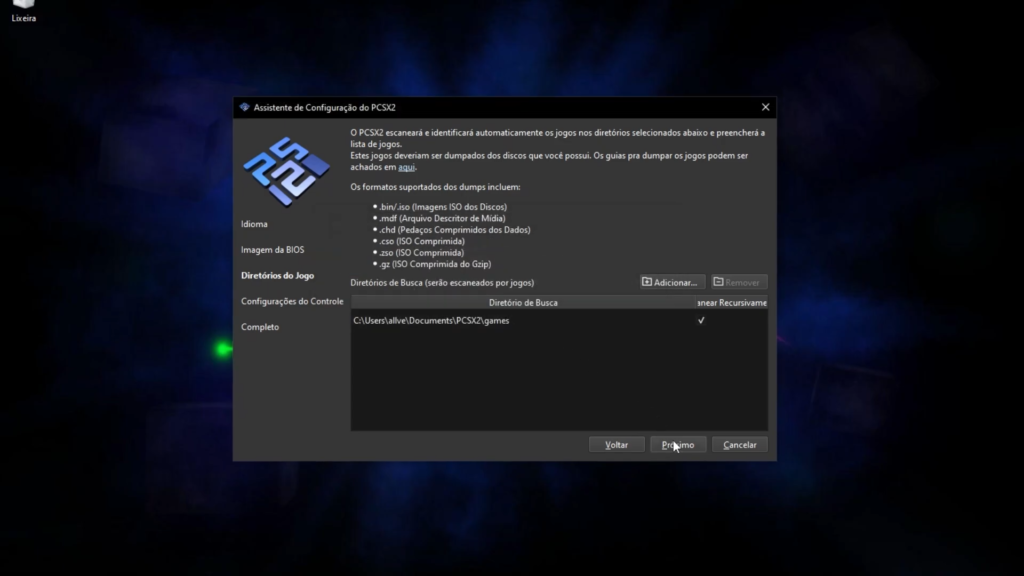
Now that the emulator is configured, it is time to add the PlayStation 2 games (ROMs). To do this, follow the steps below:
- Download the ROMs of the PS2 games you want to play. A quick Google search can help you find these files.
- Create a folder named "Games" inside the "PCSX2" folder in your Documents and paste the game ROMs into this folder.
- Return to the emulator, click "Add", and select the "Games" folder where the games are stored.
- The emulator will ask if you want to scan the games folder recursively. Click "Yes" to ensure it finds all the game files.
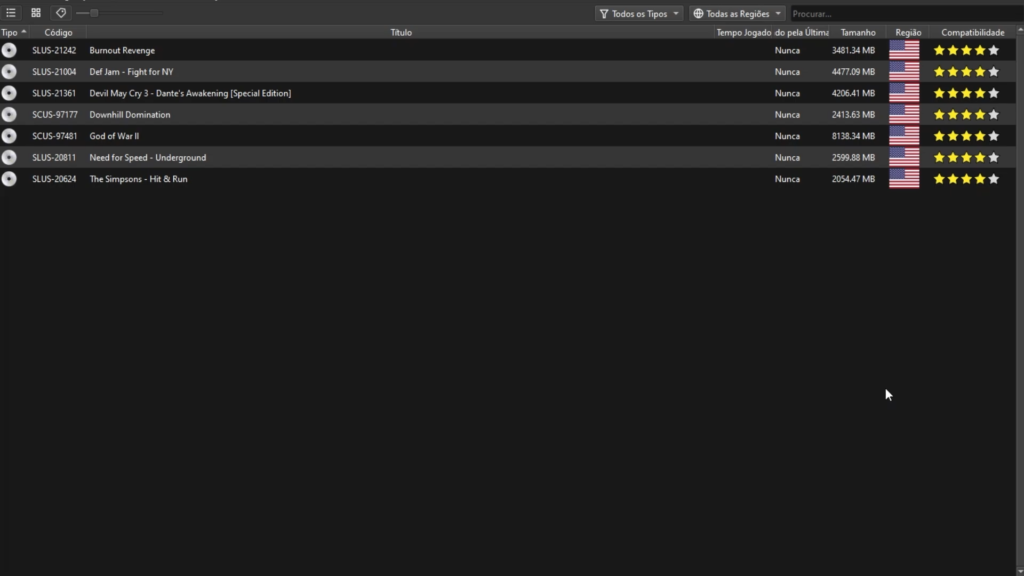
Now, your games will appear listed in the emulator, ready to be played!
5. Configuring the controls
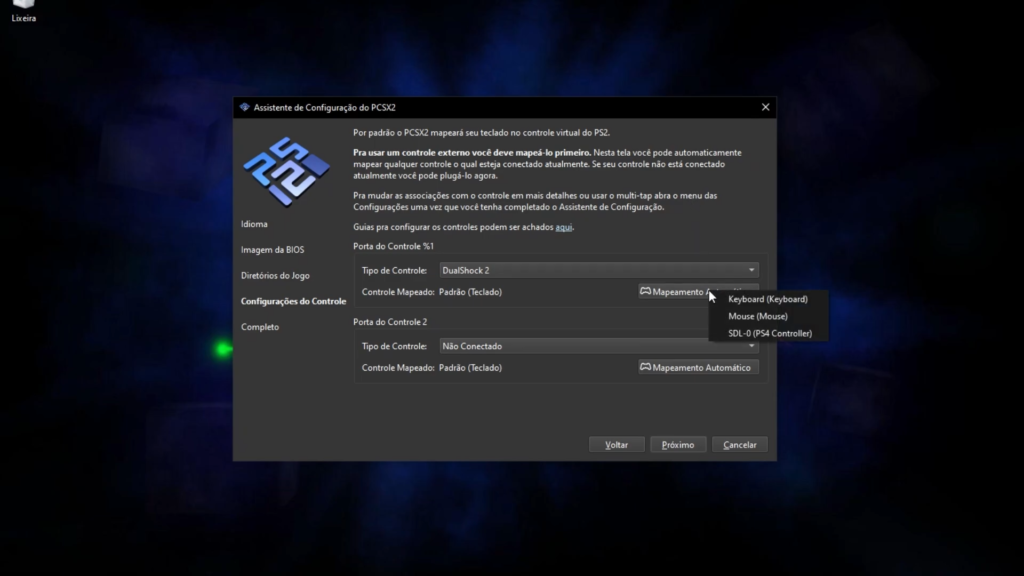
If you are going to play with a controller, PCSX2 allows you to configure it easily. Here is how:
- Connect the controller to your PC. The emulator supports PS4, Xbox, and other controllers.
- Click "Automatic Mapping" to configure the buttons automatically.
- If you are playing with two players, connect the second controller and change the port to "DualShock 2" in the second controller's configuration menu.
If you prefer, the second player can also use the keyboard to play.
6. Playing your PS2 games on PC
Now that everything is set up, you can start playing! On the PCSX2 home interface, you will see a list of all the games you added, along with information such as the name, game code, region, and even the time each game has been played.
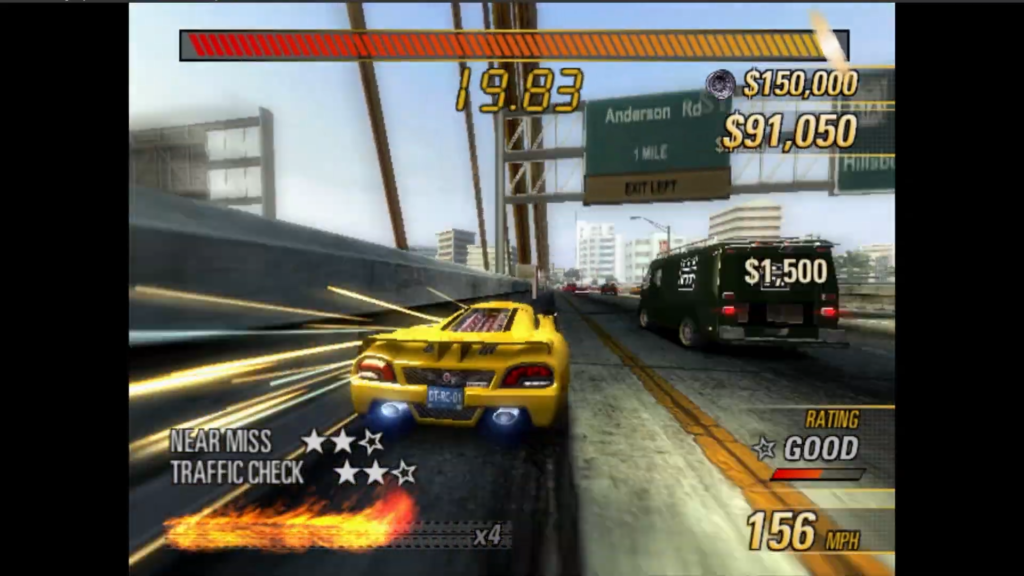
To start a game, just double-click on it and that's it! The emulator will run the PS2 game directly on your PC, providing a nostalgic and high-quality experience.
Conclusion
With this guide, you have learned how to download, set up, and play your PS2 games on PC using PCSX2. By following the steps described, you'll be playing your favorite titles in minutes. Don't forget to explore other emulator settings to optimize your experience and make the graphics even better. Have a great game!
For more content like this, subscribe to our channel and leave a like. Until next time!

 For more content like this, subscribe to our channel and leave a like. Until next time!