In this tutorial we will learn how to unzip games from
PS1 and organize them on devices
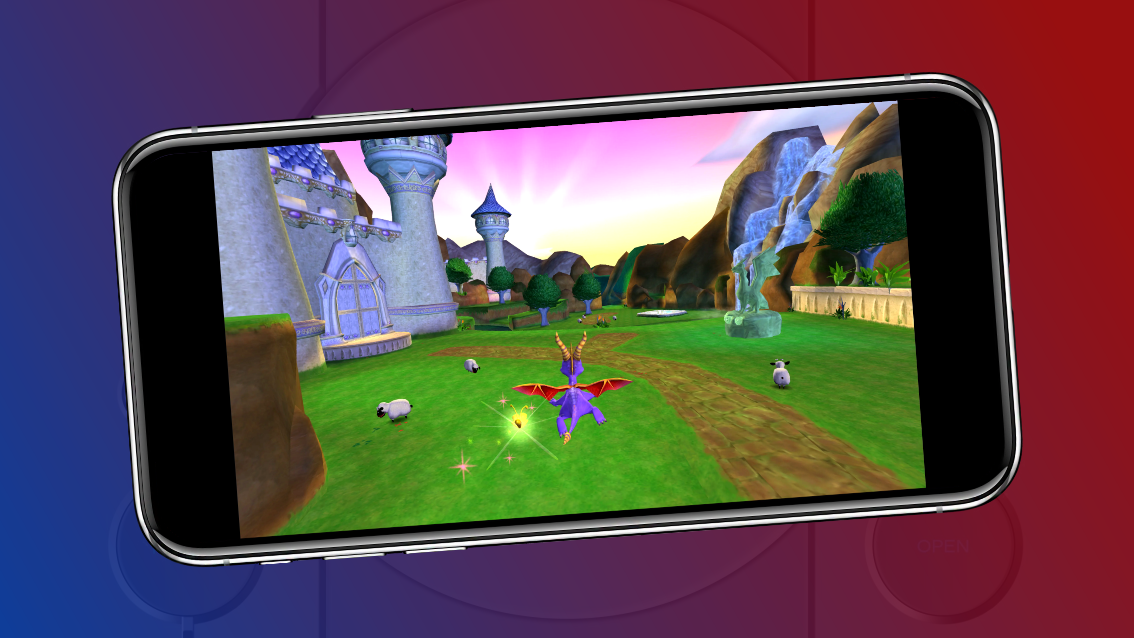
Android. The focus of the step-by-step guide will be the emulator
DuckStation, but you can use the same process for other emulators.
https://youtu.be/wQiBh4kvJUA
1. File Manager App
If your system does not have a native file manager, I recommend first downloading the app
File Manager on the PlayStore so you can organize these games more easily.
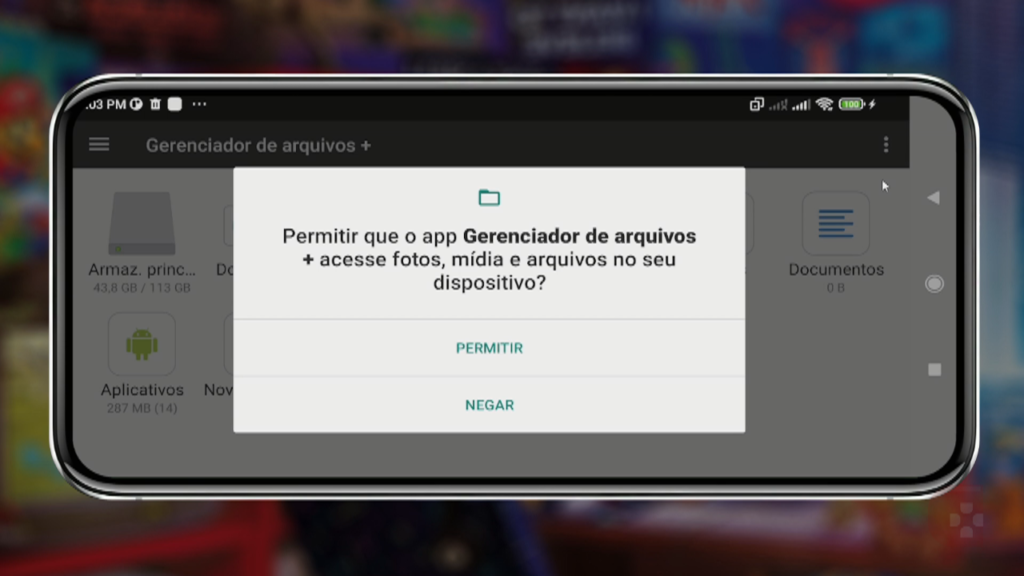
As soon as you open the app, you will have to grant permission for it to access the things stored on your device.

Next, you will be able to browse your files and discover where your games are. In my case, the games go to the Downloads folder.
You can also use the search magnifying glass to find the games. On the file manager app's home page, click on main storage.
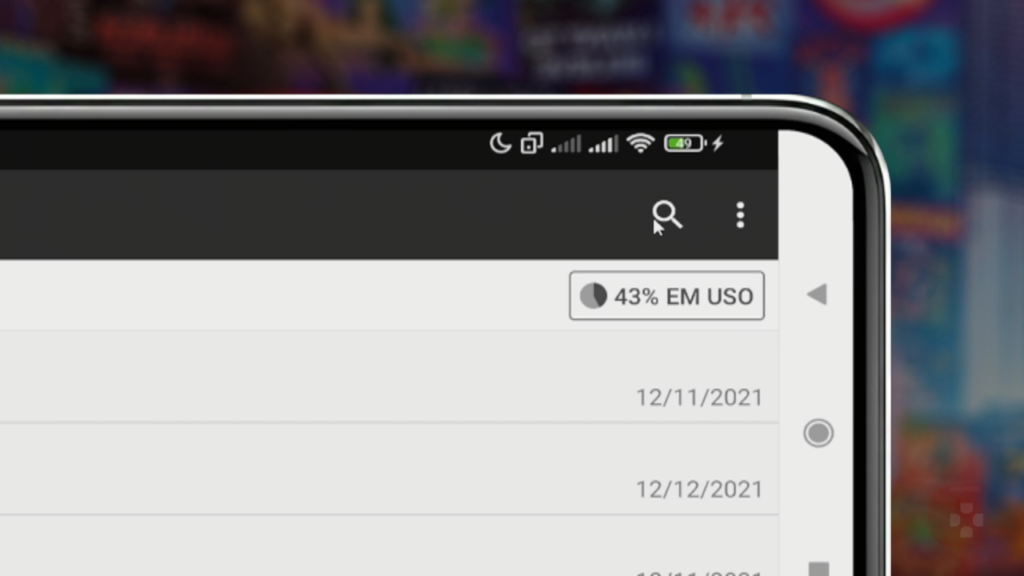
Right after that, you will see the magnifying glass in the top right corner. Click on it, type the first letters of the game's name, and then the game file will appear, provided you typed it correctly.
Next, you click on the game file and you will be taken to where it is saved. Here in my case, the searched game was saved in the Downloads folder.
2. How to create folders in the File Manager app
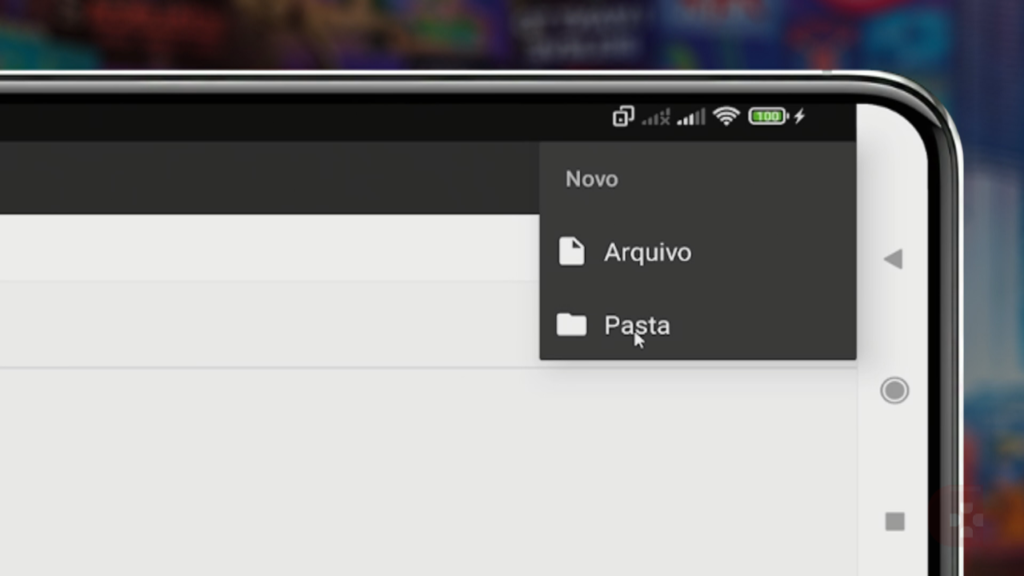
Inside this Downloads folder (or inside the folder where your downloaded games are), we are going to create another folder. Just click on the 3 dots that are in the top right, after that click on NEW and then on FOLDER.
Now you type the name you want to give this folder. I will write PS1 GAMES. We will use this folder to place the PS1 games that we bring to our device.
3. How to unzip games using the RAR app
Compressed files will usually have the .7z or .rar extension at the end of the name. It is necessary to unzip the game files before opening them in the PS1 emulator.
We will use a free app called RAR.
It can be downloaded directly from the PlayStore.
The first time you open the RAR app, you will have to grant permissions to the app. Then, go back to the app and you will see a donation notice.
It is optional. You can decline if you want. And if you decline, this notice will keep appearing all the time (that's the price for using it for free, but anyway...)
Now you will be able to navigate through all the folders on your phone. Look for the folder where the compressed games are (in my case, it's in the Downloads folder).
Right after that, hold your finger on the compressed game file and click Cut. Then open the PS1 GAMES folder we created earlier, and click on that little clipboard icon in the top right corner.
Just so you understand what I did: I took the compressed file from one place and brought it to the folder where the games will actually stay. Understood? Great!
Next, hold your finger down on the compressed file again and click on “Extract to” + the game file name. In my case, it is “Extract to Gran Turismo”.
Now the file extraction process will begin. When the extraction is finished, you will see everything that has been decompressed and you will already have the files in the format that DuckStation can read.
When you decompress files this way, a new folder is created specifically for that game, so the files for all your games won't get mixed up, avoiding data conflicts.
Will it be necessary to repeat this process every time a game is compressed? YES!
4. Delete unnecessary files
Inside this PS1 GAMES folder, there is now a folder for the decompressed game, and there is also the compressed file that we brought here.
As soon as you extract the files, I recommend that you delete the compressed file because we will no longer need it, besides the fact that this frees up space on your device.
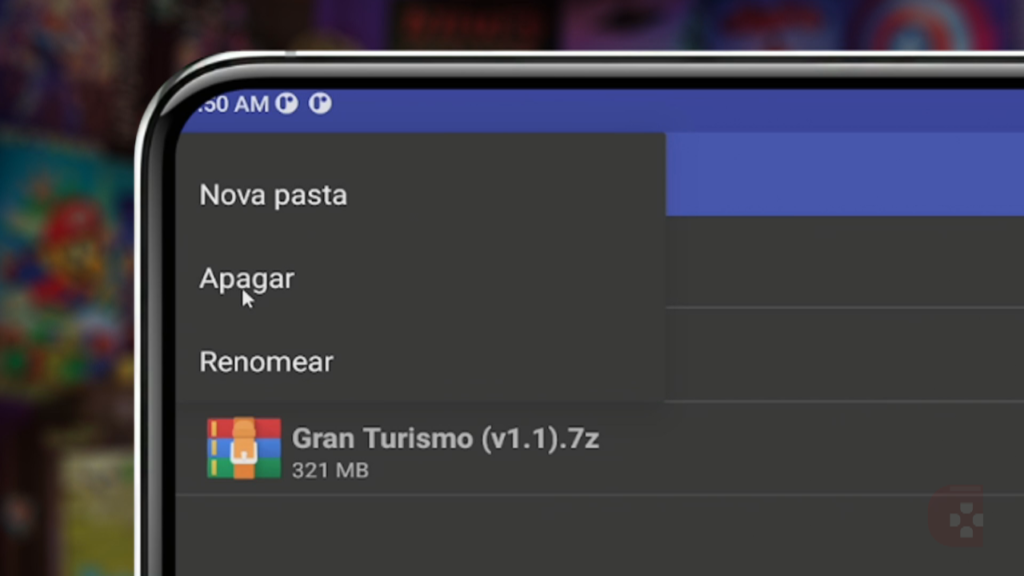
To delete it, just hold your finger on the file and click delete.

 Next, you will be able to browse your files and discover where your games are. In my case, the games go to the Downloads folder.
You can also use the search magnifying glass to find the games. On the file manager app's home page, click on main storage.
Right after that, you will see the magnifying glass in the top right corner. Click on it, type the first letters of the game's name, and then the game file will appear, provided you typed it correctly.
 Next, you click on the game file and you will be taken to where it is saved. Here in my case, the searched game was saved in the Downloads folder.
 Now you type the name you want to give this folder. I will write PS1 GAMES. We will use this folder to place the PS1 games that we bring to our device.
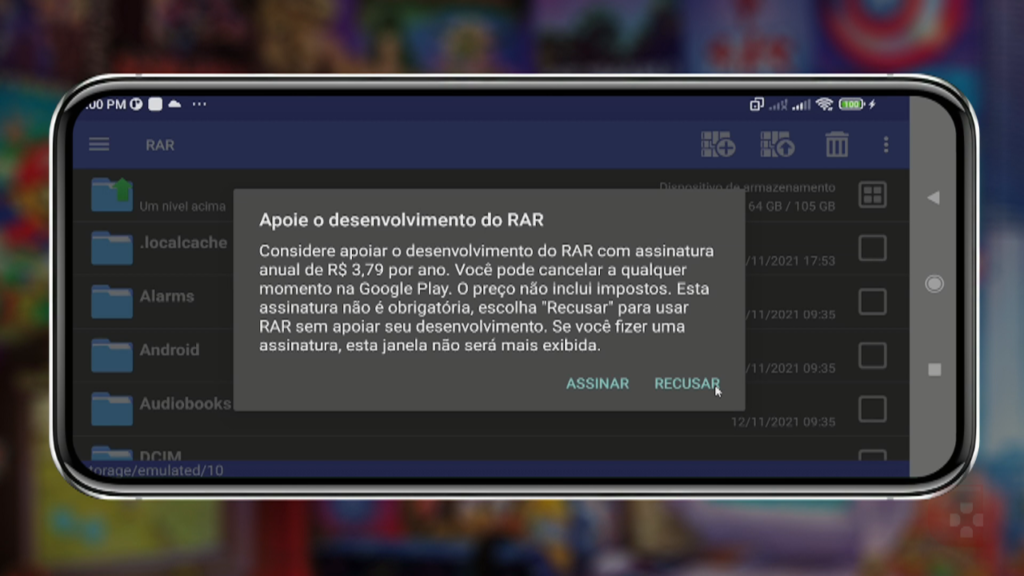 It is optional. You can decline if you want. And if you decline, this notice will keep appearing all the time (that's the price for using it for free, but anyway...)
Now you will be able to navigate through all the folders on your phone. Look for the folder where the compressed games are (in my case, it's in the Downloads folder).
Right after that, hold your finger on the compressed game file and click Cut. Then open the PS1 GAMES folder we created earlier, and click on that little clipboard icon in the top right corner.
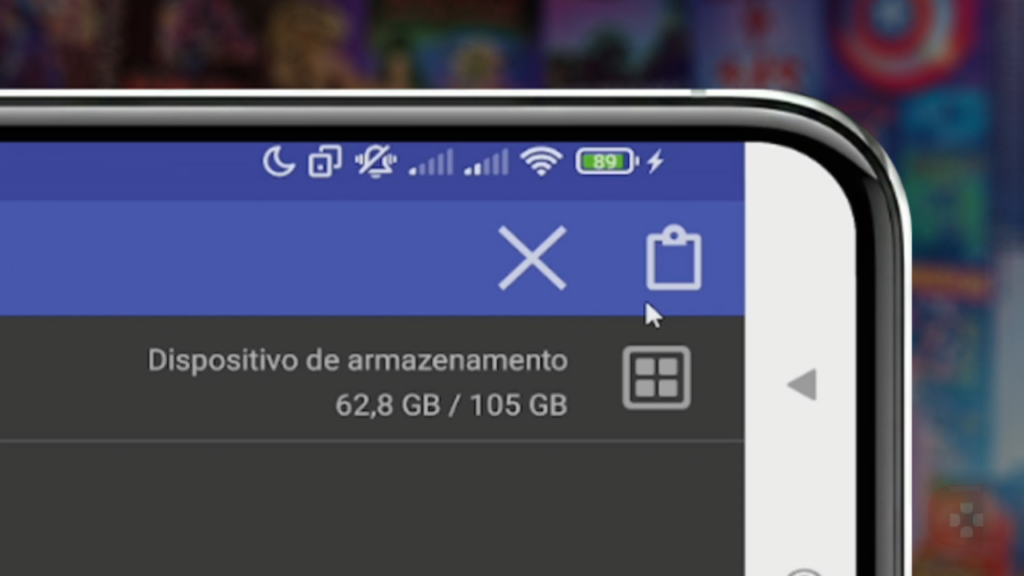 Just so you understand what I did: I took the compressed file from one place and brought it to the folder where the games will actually stay. Understood? Great!
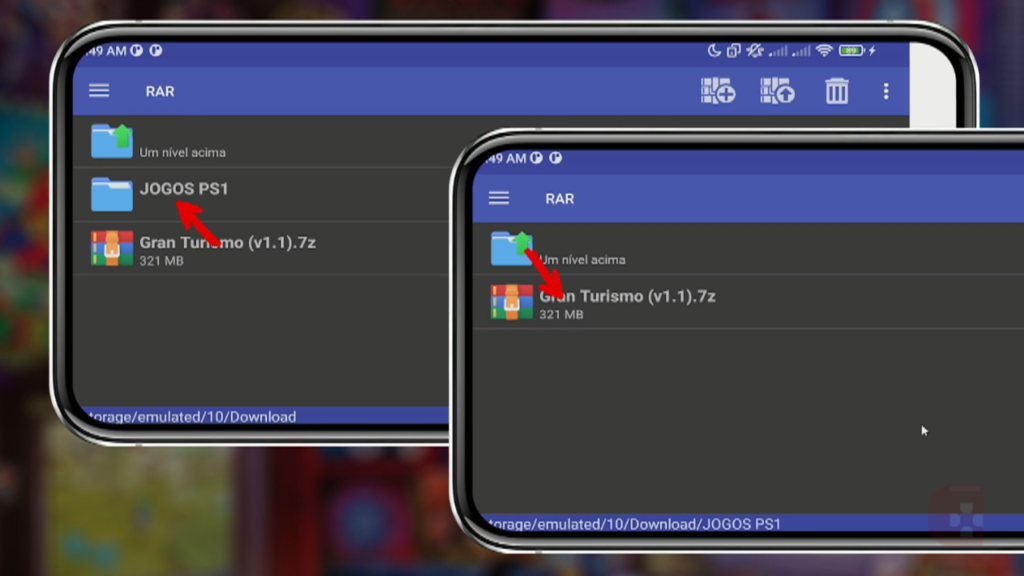 Next, hold your finger down on the compressed file again and click on “Extract to” + the game file name. In my case, it is “Extract to Gran Turismo”.
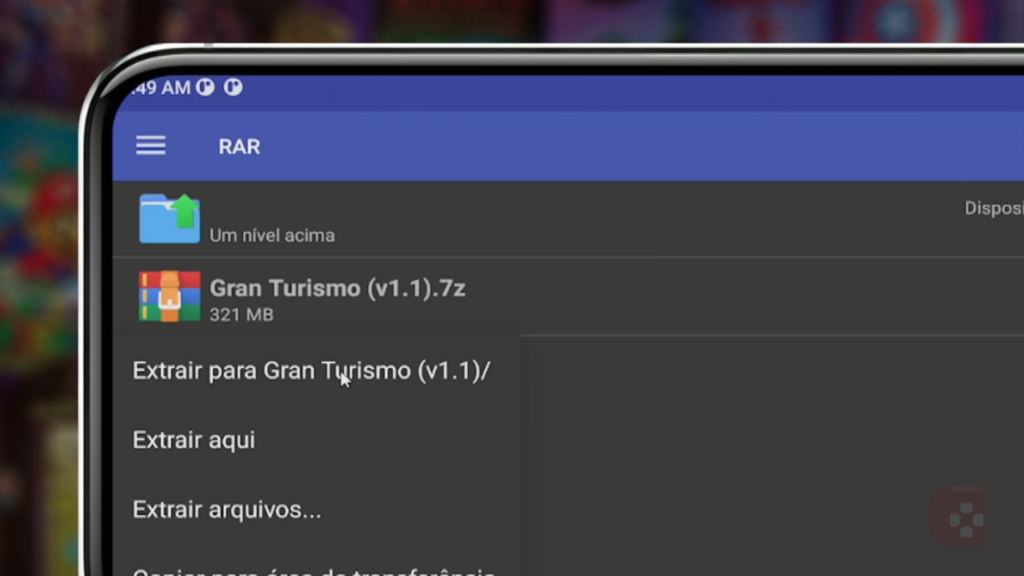 Now the file extraction process will begin. When the extraction is finished, you will see everything that has been decompressed and you will already have the files in the format that DuckStation can read.
When you decompress files this way, a new folder is created specifically for that game, so the files for all your games won't get mixed up, avoiding data conflicts.
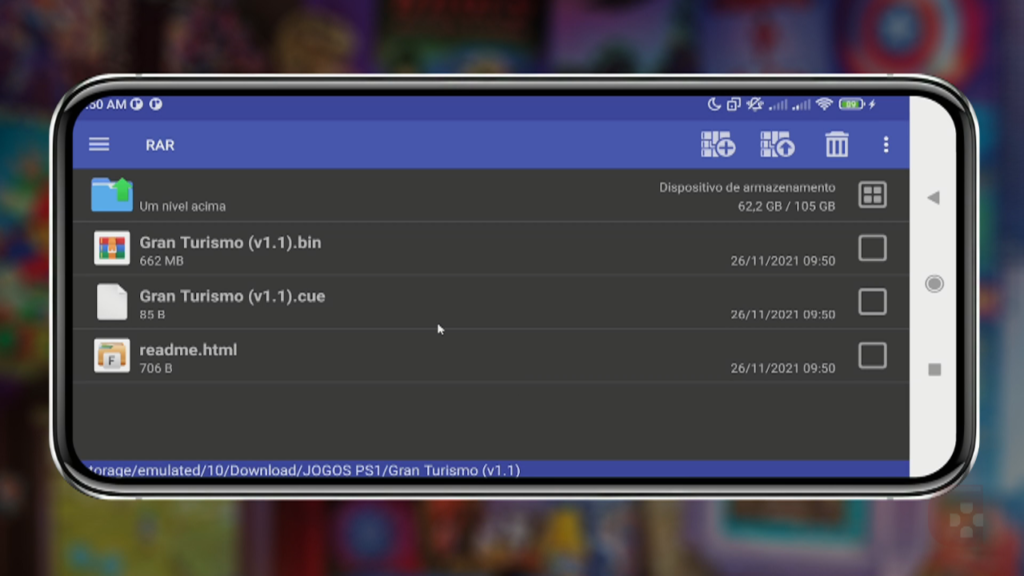 Will it be necessary to repeat this process every time a game is compressed? YES!
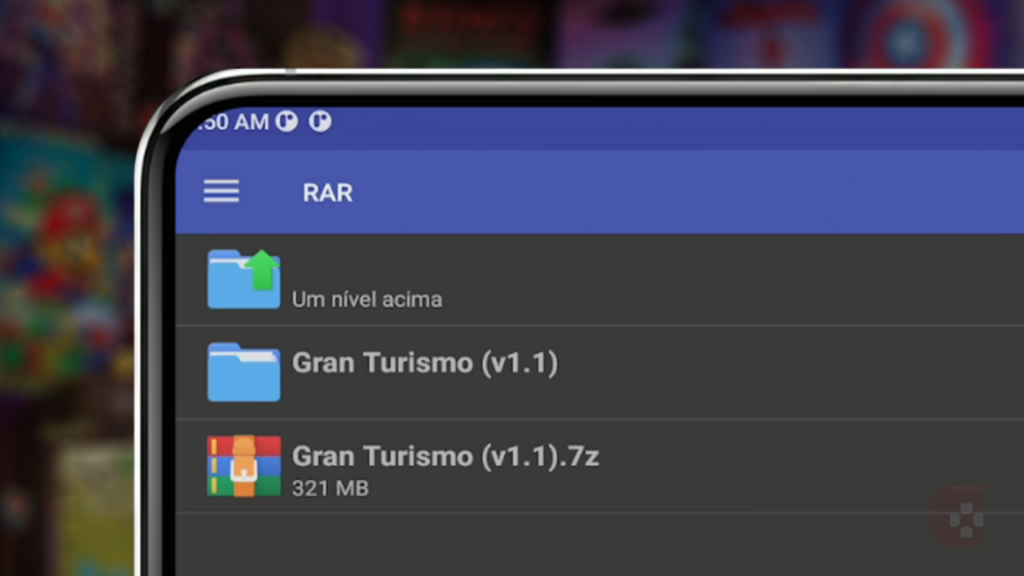 As soon as you extract the files, I recommend that you delete the compressed file because we will no longer need it, besides the fact that this frees up space on your device.
To delete it, just hold your finger on the file and click delete.
Pingback: Como Colocar Jogos no DuckStation Android
Pingback: Como Adicionar Capas aos Jogos do DuckStation Android
Pingback: Como Criar Playlists no DuckStation de Android Para Mudar Discos